Easy installation in 3 steps
For easy and efficient installation of NEURHOME, follow these simple steps.
1. Unpack
3. Install your NODES
STEP 1
Unpack
Carefully unpack and verify that you have all the required parts.

HUB
(1)
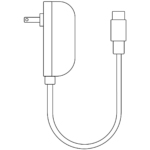
Wall adapter (110V)
(1)
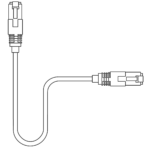
Rj45 cable
(1)
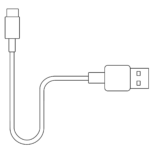
USB cable
(qty. ordered)
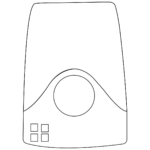
NODE
(qty. ordered)
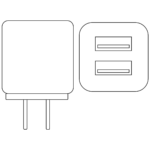
Wall charger
(qty. ordered)
STEP 2
Prepare your Hub
For this step, you need the following parts: the HUB, its power supply and the RJ45 cable. You will also require physical access to your home’s internet router.
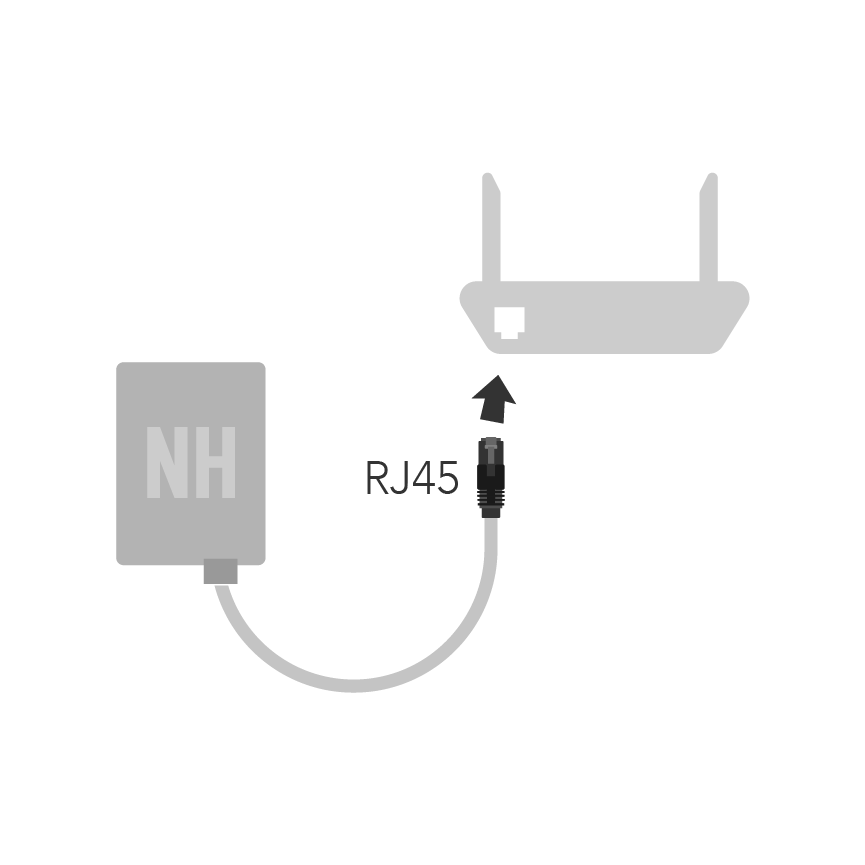
First, using the provided RJ45 cable, connect your HUB to your home router
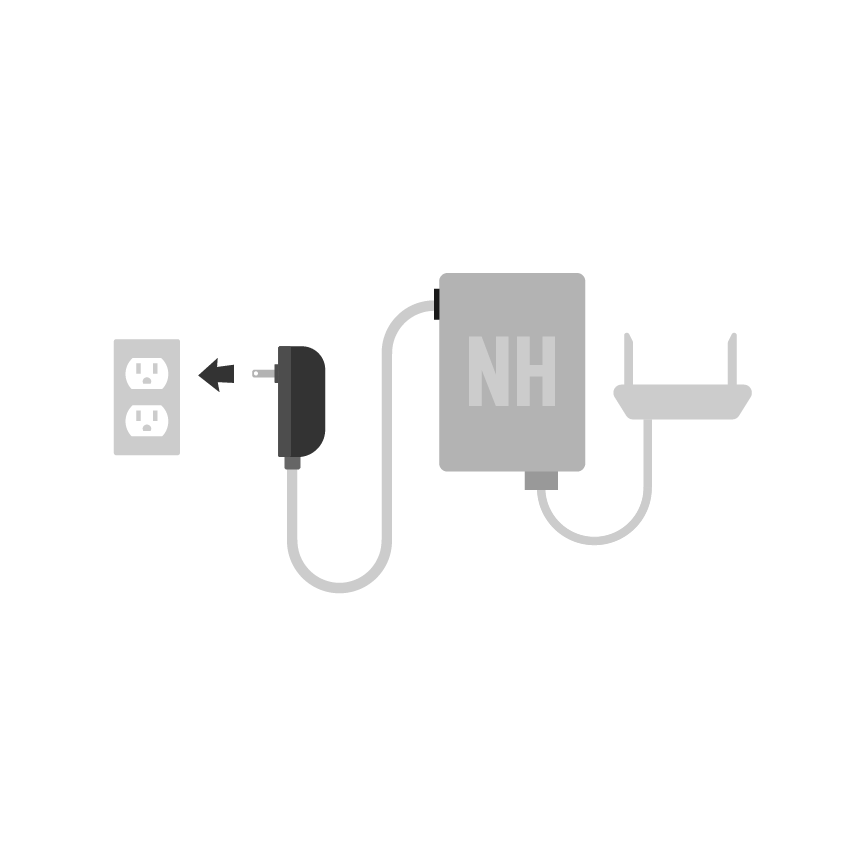
Then, power up your HUB by connecting the included power supply
STEP 3
Install your NODES
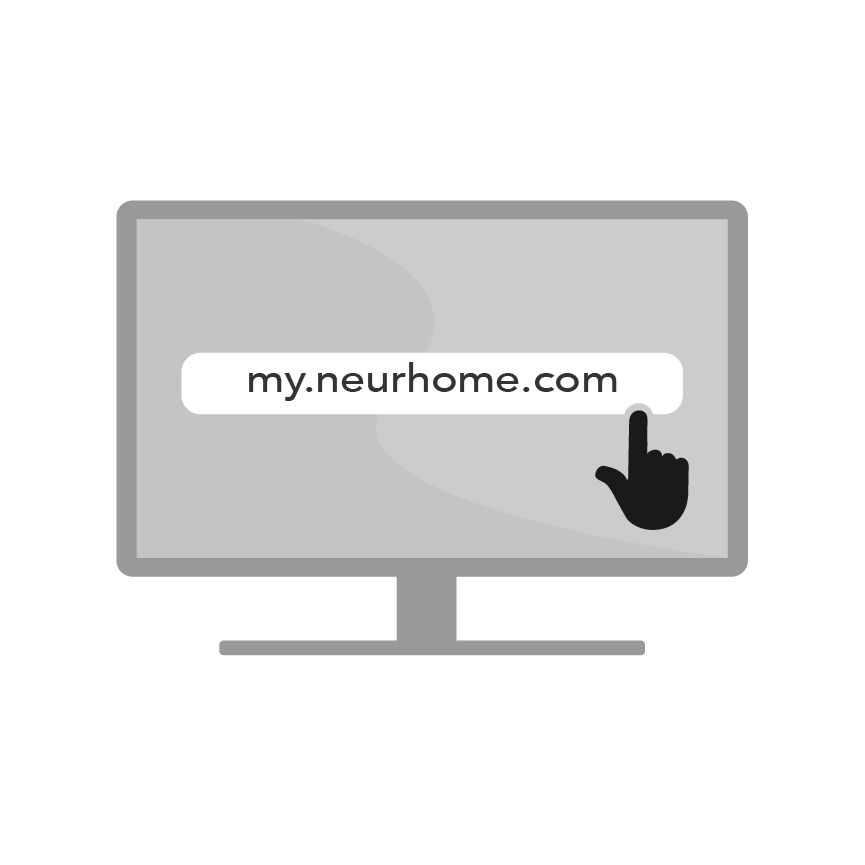
First, visit my.neurhome.com and login using your favorite social account.
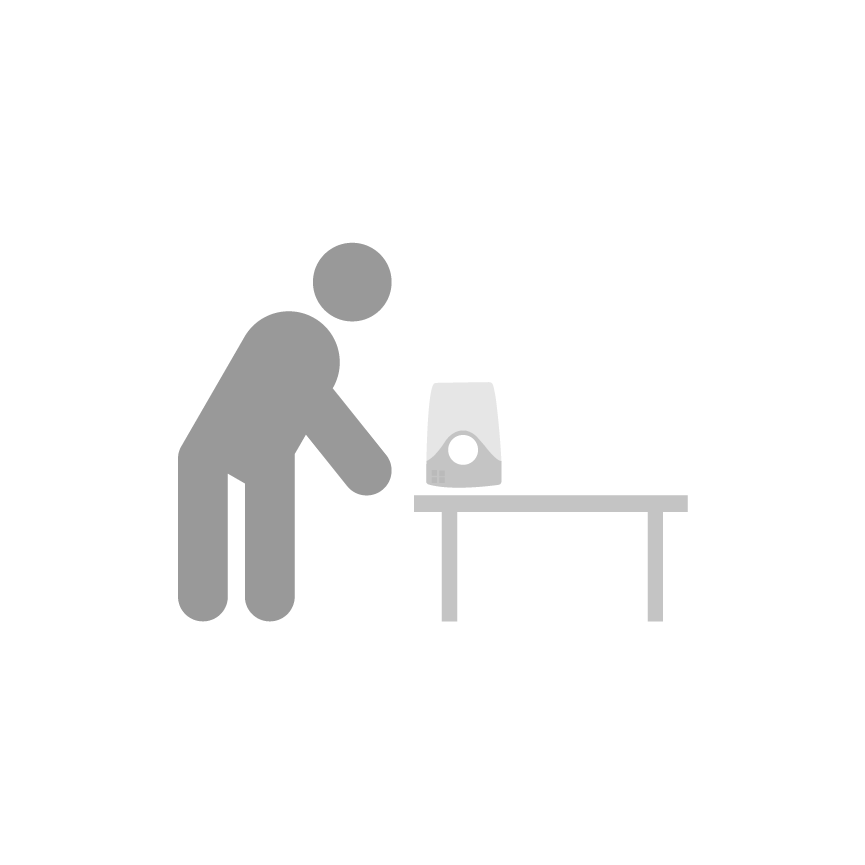
Then, find the perfect spot for a NODE and plug it in
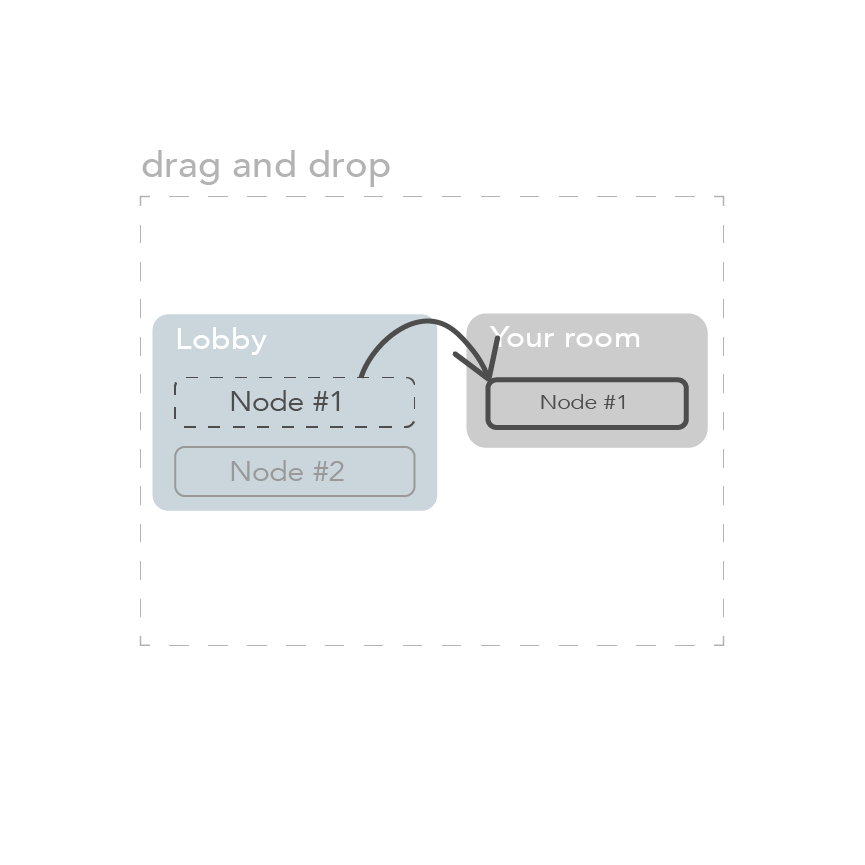
In the settings page, associate your NODE to the right room. It’s the one blinking in the lobby! Repeat until no NODES are left.
Positioning your NODES
As a general rule, you want the NODES to have an “eye on” and “feel” the room they are installed in. Shelves overlooking the room or tables in corners are great spots to get accurate information.
Get the best results by following those simples guidelines
- Install them where they can monitor the space with the least visual obstruction possible.
- The included power cables can replaced to better fit your environment. Any USB cable works fine.
- Where possible, overlap the NODES field of view to enhance pattern detection.
- Stable surface enhances their ability to produce accurate readings.
- Use the provided double face tape to secure them in place.
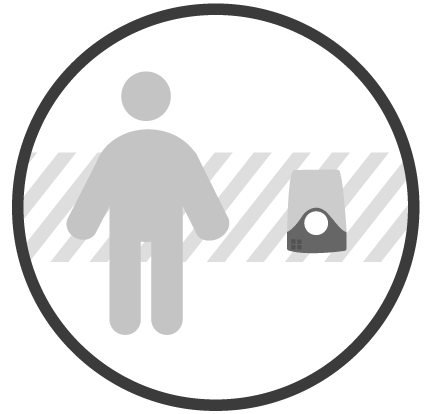
Position at waist line or above

Avoid direct sunlight

Avoid water
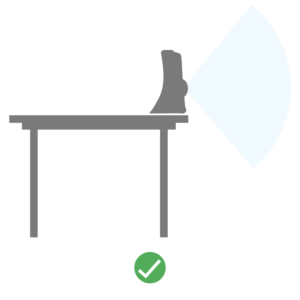
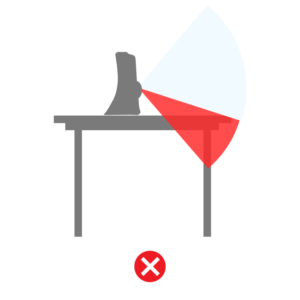
Vertical field of view
Placing a NODE on the edge of a shelve, desk or table will provide it with a better overview of the area.
Horizontal field of view
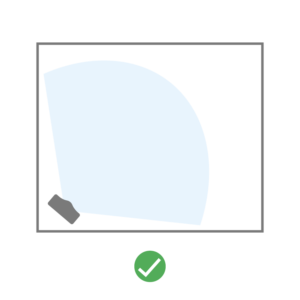
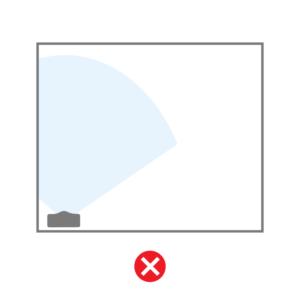
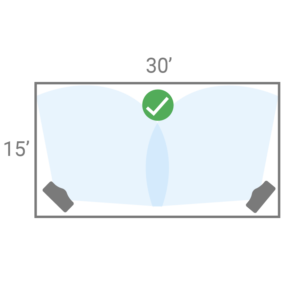
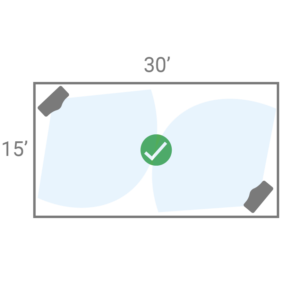
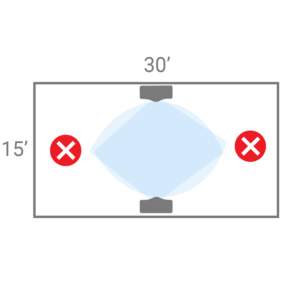
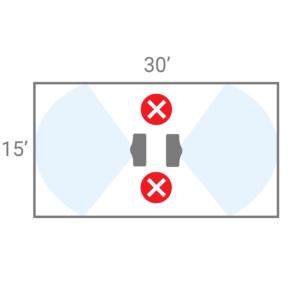
For best results, position the NODES for maximum coverage. Aiming at the center of the room helps maximizing the coverage.
Several NODES in a room
If you need to place several NODES in a single area, it is recommended to overlap a small portion of their field of view while maximizing their coverage.
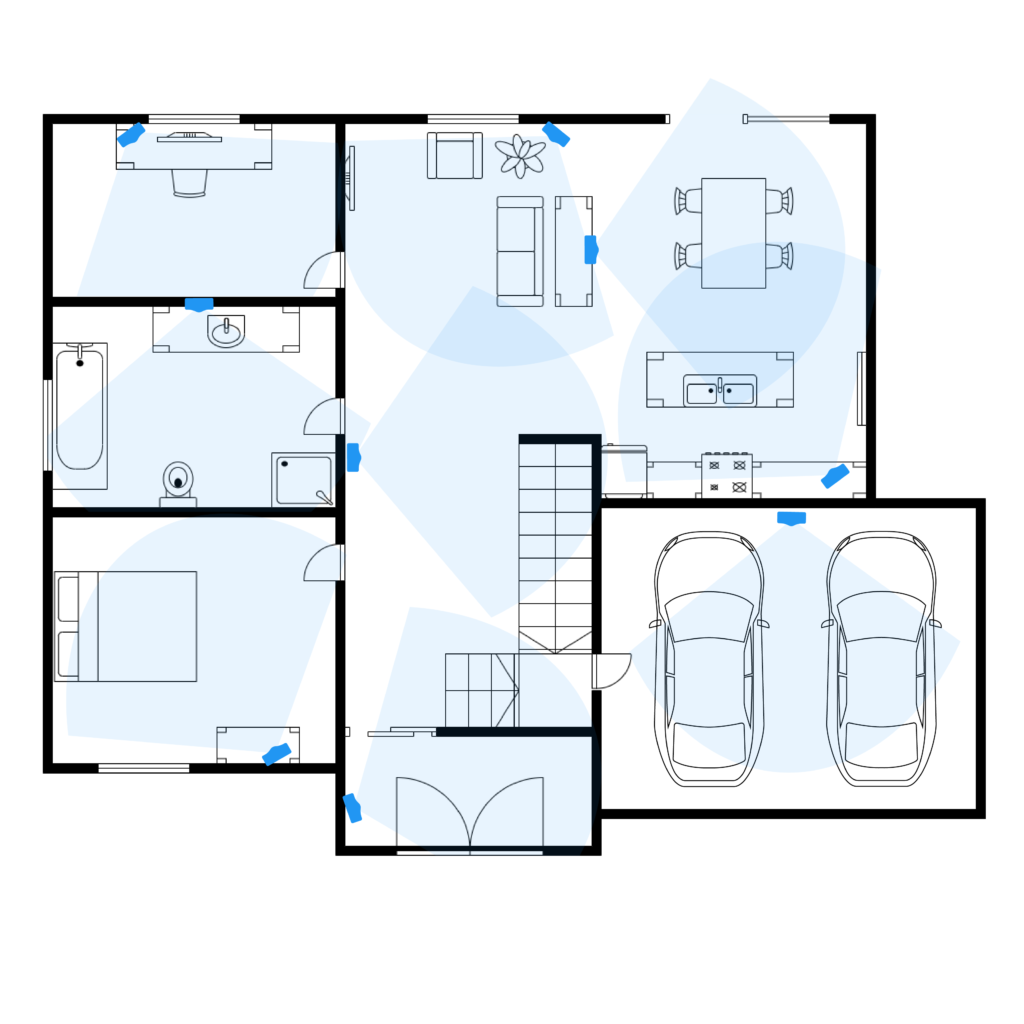
Real life example
Here is a concrete example of optimal positioning. The number of NODES may vary from one house to another.
